Lawn Rejuvenation Guide: Step-by-Step Instructions for Your Kit
Lawn Rejuvenation Guide: Step-by-Step Instructions for Your Kit
Posted on 02/09/2026
Transforming a tired, patchy lawn into a lush, vibrant green space doesn't have to be a guessing game. Whether you are starting completely from scratch or breathing new life into an existing lawn through over-seeding, having a structured plan makes all the difference between a mediocre and a showstopping garden.
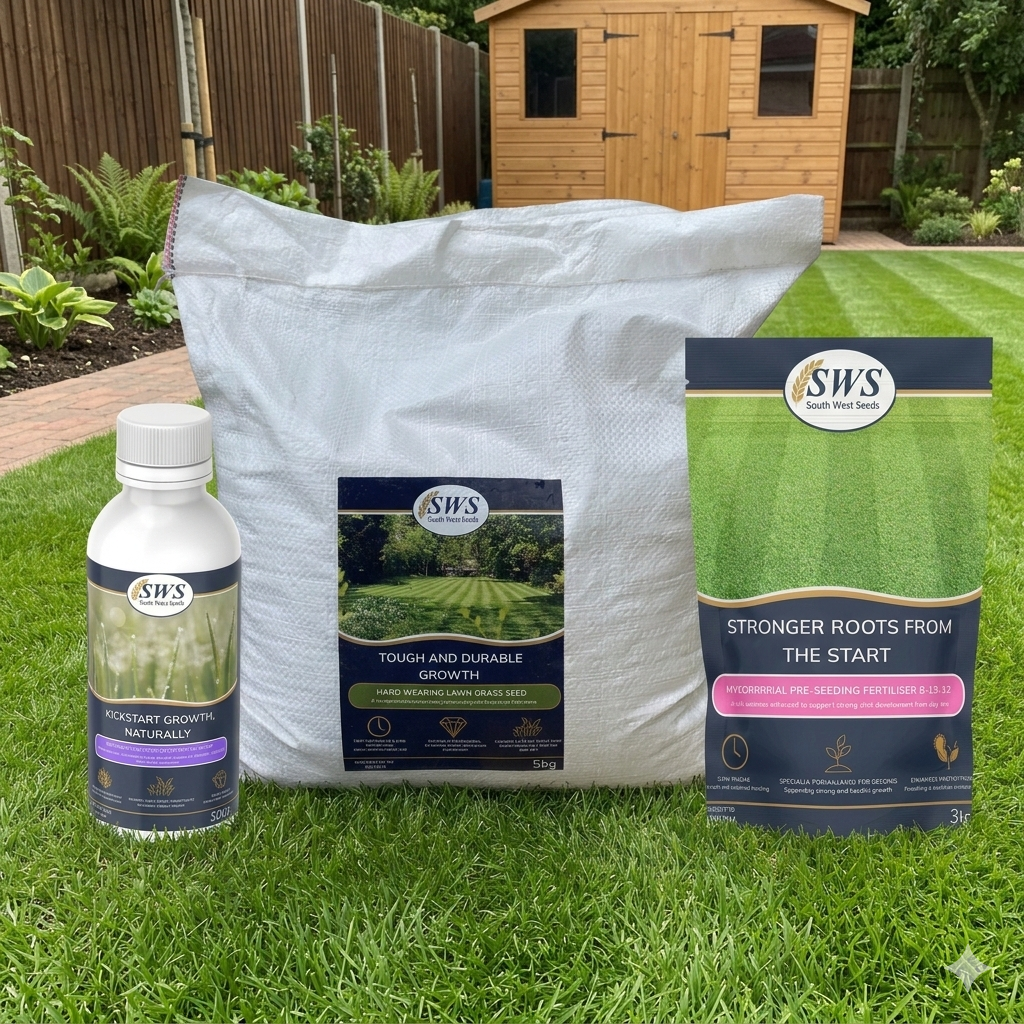
Our guide is designed to make your lawn transformation easy and successful, providing clear, detailed advice on how to apply each of the products included in your Lawn Pack. From essential initial ground prep and precision fertilising to sowing, liquid feeds, and ongoing aftercare, every milestone is broken down into simple, actionable steps to help you unlock your lawn's full potential.
For more help and advice, please don’t hesitate to contact us. Thank you, and we hope you enjoy your new lawn!
Step 1: Preparation
To achieve the best results from our Lawn Rejuvenation Pack, it's essential to thoroughly prepare the area where you will be seeding. We recommend taking some time to ensure the area is ready before starting the process.
For New Lawns:
Begin by clearing away all stones, weeds and debris from the area.
Proper lawn drainage is crucial; dig the area as deep as possible. This action helps to break up compacted soil and introduces oxygen, as poor drainage can hinder grass growth.
Level out any uneven patches to grade your lawn, adding topsoil or sand where necessary.
If the soil seems heavy, incorporate peat to improve its structure, as it retains moisture and nutrients, aiding germination.
Rake the area to achieve a fine finish.
Lightly roll the area to prevent any uneven soil drops.
For Over-Seeding:
Start by mowing your lawn shorter than usual to enhance seed contact with the seed bed, ideally when the lawn is dry.
Clear away stones, weeds and debris.
Use a rake to remove any dead grass or thatch, as weeds and moss can pose challenges when over-seeding.
Inspect your lawn for any uneven areas and add topsoil where necessary.
If you are seeding a new lawn from scratch the ideal method is to apply this fertiliser 1-2 weeks prior to spreading your grass seeds. This will allow the soil time to absorb the nutrients ready for new growth.
The ideal time to apply this product is between March and October. If possible, avoid applying during hot weather or long periods of drought.
For best results, use a spreader for even coverage. If you are applying granules by hand, wear gloves and spread evenly in two passes: one lengthways, one widthways. Walk at a steady pace to ensure even coverage.
Work the product into the top 2 inches of the soil with a rake. Compress the soil a little using a roller or ‘shuffle’ method.
Keep the soil well watered in order to activate the nutrients and prevent burning. Use a sprinkler or hose to apply a light, even watering.
Sweep any fertiliser off patios, paths, or driveways to prevent staining and runoff.
If over-seeding a lawn, apply the fertiliser and rake it to break the soil surface a little.
Make sure to measure the area you will be applying fertiliser in order to apply the correct amount. Over-fertilising can damage grass, while under- fertilising can reduce the effectiveness of the product.
Application rate: 25-25 grams per square meter (2.5-3.5kg per 100sqm).
Step 3: Sowing your seed
Application rate: 35-50 grams per m² for new lawns. 15-25 grams per m² for over-seeding.
Our Lawn Seed can be sown from mid-March to early October. Ensure the ground is above 12 degrees and there is no frost forecasted.
To work out how much seed is needed, measure the area in metres, multiply area by sowing rate, divide results by 1000 to get weight of seed required (kg/kgs).
Divide your lawn into manageable sections, then divide the seed accordingly use half the amount of seed for each section going left to right then front to back, this will ensure the seed bed has an even coverage. A spreader can be used for larger areas.
When the seed has been sown, rake in slightly and water. To ensure seed has good contact with the soil, you can roll the area or use the 'shuffle' method.
First watering is very important, make sure you apply the water lightly to the soil, so you don’t wash the seed away or create puddles.
If over-seeding your lawn you can apply the seed directly to the area that needs attention by hand. Work the seed into the sward using a light rake or brush.
Step 4: Bio-stimulant Liquid Seaweed Fertiliser
Application rate: 1 litre of diluted mixture per m²
Our Bio-stimulant liquid should be applied only after the seedlings have established.
Dilute 400-800ml in 6-10l of water, either in a watering can, hose-end sprayer or backpack sprayer for larger areas.
Mix well to avoid any overfeeding or burning of the grass.
Walk slowly and steadily, applying the fertiliser in a consistent, overlapping pattern to ensure even coverage. Start from one corner and work your way across the lawn.
Limit foot traffic and keep pets off the lawn for at least 24 hours to allow the fertiliser to absorb fully.
For best results, apply in damp conditions or when rain is expected.
Re-apply every 2–4 weeks during the growing season.
Make sure to measure the area you will be applying fertiliser in order to apply the correct amount. Over-fertilising can damage grass, while under- fertilising can reduce the effectiveness of the product.
You can apply this product straight after seeding and throughout the growing process.
The ideal time to apply this product is between March and October. If possible, avoid applying during hot weather or long periods of drought.
For best results, use a spreader for even coverage. If you are applying granules by hand, wear gloves and spread evenly in two passes: one lengthways, one widthways. Walk at a steady pace to ensure even coverage.
Keep the soil well watered in order to activate the nutrients and prevent burning. Use a sprinkler or hose to apply a light, even watering.
Sweep any fertiliser off patios, paths, or driveways to prevent staining and runoff.
Avoid applying when grass is stressed by heat or drought. Wait until conditions improve for better uptake and results. Keep fertiliser in a cool, dry place, tightly sealed and out of reach of children and pets.
Aftercare
Aftercare is a crucial aspect of the process to ensure you achieve optimal results. Follow these guidelines to nurture your new lawn:
Watering
Maintain Moisture: It’s vital to keep the soil consistently moist to give the grass the best chance to germinate.
Use a Fine Sprayer: Water with a fine sprayer, as large droplets or heavy watering can disturb the seeds.
Avoid Overwatering: Do not apply too much water or create puddles, as this could lead to seed rot.
Check Soil Colour: Monitor the soil colour regularly; if it appears light, it’s time to add more water.
Adjust for Weather: The amount of watering needed will depend on weather conditions. During prolonged dry spells, aim to water at least twice daily.
Water at Optimal Time: Avoid watering during the hottest part of the day, as evaporation can occur before the water reaches the roots. Instead, water in the morning and evening when it's cooler.
Reduce Watering as Lawn Develops: Once your new lawn begins to establish itself, you can gradually reduce the watering frequency based on the weather.
Mowing
Start Mowing at the Right Height: When your new lawn reaches 3 to 4 inches, it’s time to start mowing; never cut more than one-third of the height at a time. Ensure your mower blades are nice and sharp, this helps with a nice clean cut.
Mow When Soil is Dry: Ensure the soil is on the drier side when you mow.
Ongoing Care & Usage
Manage Weeds: Weeds are inevitable, regardless of the quality of the seed or seedbed. Control them by mowing, hand-pulling, or other methods (exercise caution and follow recommended guidelines for usage).
Be Patient with Germination: If patches appear while the grass seed is germinating, don’t worry; continue with the care process, as some areas will come through faster than others.
Limit Foot Traffic: Keep foot traffic, especially from dogs, to a minimum during the germination period.
Did the summer heatwave leave your lawn looking parched, patchy, and exhausted? Give your turf the ultimate seasonal rescue with our Fast Recovery Lawn Pack. Designed as a fast-acting repair solution for damaged, worn, and high-traffic lawns, this targeted kit delivers rapid germination and a lightning-fast recovery to help your yard bounce back from heavy use, pet damage, drought and summer stress.